martes, 19 de marzo de 2013

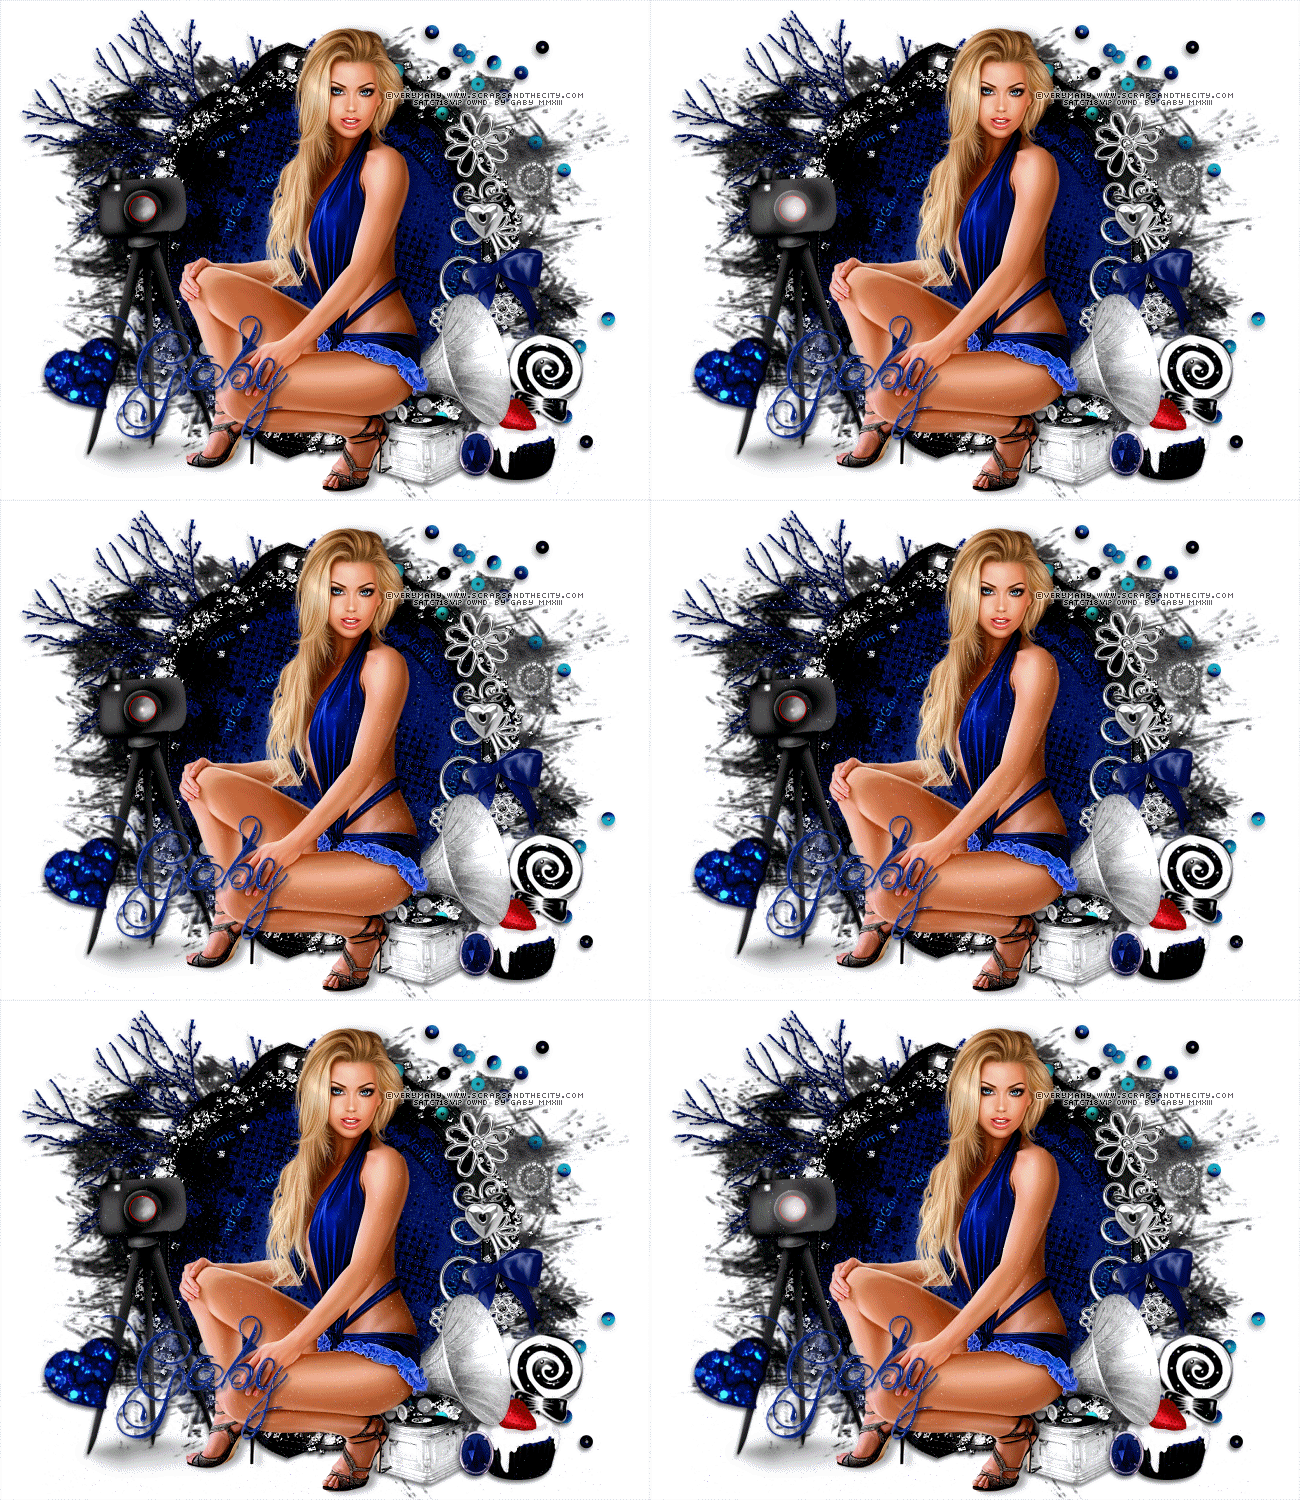
Bling Bling


Supplies Needed:
Psp & Animation shop
Tube of choice. Art by Verymany, the tube is available here
Scrap kit Bling Bling (PTU) by Amy Maries Kits here
Mask 201 by Gems here
Animation 326 by Simone here 
Plugins:
Eye candy 4000
Dsb Flux
Font here


Open a new image: 650x500

Open: pp10. C/p in the canvas. Layers - Load/Save Mask - Load Mask from the disk:

Merge group. Resize at 95 percent - Smart Size. Duplicate. Merge visible.

Open: 40. C/p in the canvas, resize at 70 percent - Smart Size.
Place it in the center.

Open: 72. C/p in the canvas, resize at 85 percent - Smart Size. 
Place it in the center. With the magic wand click inside of the frames, expand the selection: 10 pixels.

Open: pp3. C/p in the canvas, resize at 60 percent - Smart Size.
Place it below the frame. Selections - Invert. Edit - Clear. Selections - Invert. 

Open the close up of the tube, c/p in the canvas, place it in the center.
Selections - Invert. Edit - Clear. Deselect.
Effects - Plugins - Eye Candy 4000 - Shadowlab:

Open: 71. C/p in the canvas. Place it in the bottom center. 

Acitvate the paper layer. Duplicate. Resize at 65 percent - Smart Size. 
Adjust - Blur - Gaussian Blur:
Radius: 5 pixels.

Effects - Plugins - Dsb Flux - Bubbles:

Effects - Plugins - Eye Candy 4000 - Gradient Glow:


In the layer palette change the blend mode to: soft light.

Activate the top layer.
Open: 85. C/p in the canvas, resize at 80 percent - Smart Size.
Image - Free Rotate: Right 90 degrees. Place it in the bottom center.

Open: 8. C/p in the canvas, resize at 55 percent - Smart Size.
Image - Free Rotate: Left 20 degrees. Place it in the bottom right.

Open: 83. C/p in the canvas, resize at 60 percent - Smart Size. Twice.
Image - Free Rotate: Right 20 degrees. Place it in the bottom right.

Open: 69. C/p in the canvas, resize at 40 percent - Smart Size. 
Place it in the top right.

Open: 94. C/p in the canvas, resize at 35 percent - Smart Size.
Image - Free Rotate: Right 25 degrees. Place it in the top right.

Open: 11. C/p in the canvas, resize at 40 percent - Smart Size.
Place it in the bottom right.

Open: 29. C/p in the canvas, resize at 55 percent - Smart Size. Twice.
Place it in the bottom right.

Open: 12. C/p in the canvas, resize at 40 percent - Smart Size.
Place it in the bottom right.

Open: 43. C/p in the canvas, resize at 55 percent - Smart Size. Twice.
Place it in the bottom right.

Open: 87. C/p in the canvas, resize at 50 percent - Smart Size. Twice.
Place it in the bottom right.

Open: 96. C/p in the canvas, resize at 55 percent - Smart Size. 
Place it in the bottom left.

Open: 34. C/p in the canvas, resize at 40 percent - Smart Size. 
Place it in the bottom left.

Open: 2. C/p in the canvas, resize at 45 percent - Smart Size. Twice.
Place it in the bottom left.

Open: 31. C/p in the canvas, resize at 55 percent - Smart Size. Twice.
Place it in the bottom left.

Open: 93. C/p in the canvas, resize at 40 percent - Smart Size. 
Place it in the bottom left.

Open: 90. C/p in the canvas, resize at 55 percent - Smart Size. Twice.
Place it in the left side.

Open: 46. C/p in the canvas, resize at 55 percent - Smart Size. Twice.
Place it in the bottom left.

Open: 54. C/p in the canvas, resize at 50 percent - Smart Size. Twice.
Place it in the bottom left.

Open: 68. C/p in the canvas, resize at 45 percent - Smart Size. 
Place it in the bottom center.

Sharpen the elements and apply shadow.
Effects - Plugins - Eye Candy 4000 - Shadowlab:

Add the name and copyright info.

To animate:
Copy merged the tag. Open animation shop: 
Paste as a new animation and duplicate until you have 17 frames.

Open: SimoneAni326.mng
Activate the first frame, select all.
Animation - Cull Animation: Remove 1 frame every 5 frames.
Drag into the tag and place it in the bottom center.

**Adding a background to the transparent animation.

Animation - Animation Propieties
Change the black color for the color of your choice, mine is white.
Apply and the color will be applied in all the frames selected.

Change the speed to: 11, play the animation and save if you like! :)

lunes, 18 de marzo de 2013

New tag by Bibi with my new kit


New adorable tag by Bibi with my new kit Easter Quest and the tube by Sebastien Serrano.

PTU Tutorial by Isa: Easter Quest


New gorgeous PTU Tutorial by Isa with my new kit Easter Quest and the tube by Sebastien Serrano.
Find the tutorial here


Seductive Night


Supplies Needed:
Psp & Animation shop
Tube of choice. Art by Jose Cano, the tube is available here
Scrap kit Jacklyn Night (PTU) by Bibis Collection here
Animation 226 by Simone here 
Plugins:
Eye candy 4000
Font here


Open a new image: 650x600

Open: BIBIJACKLYNNIGHT ELEM (24). C/p in the canvas, resize at 60 percent - Smart Size. 
Place it in the left side. Duplicate. Image - Mirror. Image - Flip. Arrange it in the top right.

Open: BIBIJACKLYNNIGHT ELEM (2). C/p in the canvas, resize at 40 percent - Smart Size.
Place it in the top right. Duplicate. Image - Mirror. Arrange it in the top left.

Open: BIBIJACKLYNNIGHT ELEM (2). C/p in the canvas, resize at 40 percent - Smart Size.
Image - Mirror. Place it in the top left.

Open: BIBIJACKLYNNIGHT ELEM (3). C/p in the canvas, resize at 40 percent - Smart Size.
Place it in the center. With the magic wand click inside of the frames, expand the selection: 10 pixels.

Open: BIBI JACKLYN NIGHT PAPERS (9). C/p in the canvas, resize at 75 percent - Smart 

Size. Place it below the frame. Selections - Invert. Edit - Clear. Selections - Invert. 

Open the close up of the tube, c/p in the canvas, place it in the right side of the frame.
Selections - Invert. Edit - Clear. Deselect.
Effects - Plugins - Eye Candy 4000 - Shadowlab:

Open: BIBIJACKLYNNIGHT ELEM (5). C/p in the canvas. Place it in the bottom center.

Open: BIBIJACKLYNNIGHT ELEM (47). C/p in the canvas, resize at 50 percent - Smart Size.
Place it in the bottom left.

Open: BIBIJACKLYNNIGHT ELEM (68). C/p in the canvas, resize at 50 percent - Smart Size.
Place it in the bottom left.

Open: BIBIJACKLYNNIGHT ELEM (65). C/p in the canvas, resize at 80 percent - Smart Size.
Place it in the bottom left.

Open: BIBIJACKLYNNIGHT ELEM (14). C/p in the canvas. Place it in the bottom left.

Open: BIBIJACKLYNNIGHT ELEM (20). C/p in the canvas. Place it in the top center.

Open: BIBIJACKLYNNIGHT ELEM (66). C/p in the canvas, resize at 50 percent - Smart Size.
Place it in the right.

Open: BIBIJACKLYNNIGHT ELEM (22). C/p in the canvas, resize at 70 percent - Smart Size.
Place it in the left side. Duplicate. Image - Mirror. Image - Flip. Arrange it in the right side.

Open: BIBIJACKLYNNIGHT ELEM (70). C/p in the canvas, resize at 55 percent - Smart Size. Twice. Place it in the bottom left.

Open: BIBIJACKLYNNIGHT ELEM (17). C/p in the canvas. Place it in the bottom left.

Open: BIBIJACKLYNNIGHT ELEM (44). C/p in the canvas, resize at 40 percent - Smart Size.
Place it in the bottom left.

Open: BIBIJACKLYNNIGHT ELEM (45). C/p in the canvas, resize at 55 percent - Smart Size. Twice. Place it in the bottom left.

Open: BIBIJACKLYNNIGHT ELEM (15). C/p in the canvas, resize at 40 percent - Smart Size. 
Place it in the bottom left.

Open: BIBIJACKLYNNIGHT ELEM (72). C/p in the canvas, resize at 70 percent - Smart Size. 
Place it in the bottom left, next to the lipstick.

Open: BIBIJACKLYNNIGHT ELEM (50). C/p in the canvas, resize at 80 percent - Smart Size. 
Place it in the top center.

Sharpen the elements and apply shadow.
Effects - Plugins - Eye Candy 4000 - Shadowlab:

Add the name and copyright info.

To animate:
Copy merged the tag. Open animation shop: 
Paste as a new animation and duplicate until you have 17 frames.

Open: SimoneAni 226.mng
Activate the first frame, select all.
Animation - Rotate: Left - 90 Degrees.
Drag into the tag and place it in the bottom right.

**Adding a background to the transparent animation.

Animation - Animation Propieties
Change the black color for the color of your choice, mine is white.
Apply and the color will be applied in all the frames selected.

Change the speed to: 11, play the animation and save if you like! :)

The head in the game


Supplies Needed:
Psp & Animation shop
Tube of choice. Art by Jose Cano, the tube is available here
Scrap kit Sarah (PTU) by SkyScraps here
Animation 256 by Simone here 
Plugins:
Eye candy 4000
Font here


Open a new 650x550
Open: SkyScraps-Sara-E24. C/p in the canvas, resize at 70 percent - Smart Size. 
IPlace it in the center.

Open: SkyScraps-Sara-E32. C/p in the canvas, resize at 80 percent - Smart Size. 
Place it in the right side. Duplicate. Image - Flip. Arrange it in the left side.

Open: SkyScraps-Sara-E25. C/p in the canvas. Place it in the bottom left side.

Open: SkyScraps-Sara-E29. C/p in the canvas, resize at 55 percent - Smart Size. Twice. 
Image - Free Rotate: Left - 25 degrees. Place it in the left side. Duplicate. Image - Mirror.

Open: SkyScraps-Sara-E23. C/p in the canvas, resize at 60 percent - Smart Size. 
Image - Flip. Place it in the bottom center.

Open: SkyScraps-Sara-E47. C/p in the canvas, resize at 80 percent - Smart Size. 
Place it in the bottom center. Duplicate. Image - Flip. Image - Mirror.

Open: SkyScraps-Sara-E16. C/p in the canvas, resize at 40 percent - Smart Size. 
Place it in the bottom left side.

Open: SkyScraps-Sara-E3. C/p in the canvas, resize at 45 percent - Smart Size. 
Place it in the bottom left, in front of the sneakers.

Open: SkyScraps-Sara-E2. C/p in the canvas, resize at 50 percent - Smart Size. 
Place it in the top left.

Open: SkyScraps-Sara-E49. C/p in the canvas, resize at 50 percent - Smart Size. 
Place it in the top left, above the board and change the opacity to: 40.

Open the tube c/p in the canvas and place it in the right side.
Effects - Plugins - Eye Candy 4000 - Shadowlab:

Open: SkyScraps-Sara-E4. C/p in the canvas, resize at 55 percent - Smart Size. Twice. 
Place it in the bottom center.

Sharpen the elements and apply shadow.
Effects - Plugins - Eye Candy 4000 - Shadowlab:

Add the name and copyright info.

To animate:

Open: SkyScraps-Sara-E1. Resize at 35 percent - Smart Size. Copy.
Open animation shop and paste as a new animation.
Effects - Insert Image Effects:

Delete the first frame.
Back to psp. Copy merged the tag. Open animation shop: 
Paste as a new animation and duplicate until you have 17 frames.
Activate the basketball animation and drag into the tag, place it above the board.

Open: SimoneAni256.mng
Activate the first frame, select all.
Animation - Resize at 90 percent - Bicubic. Animation - Flip.
Animation - Cull Animation: Remove 1 frame every 5 frames.
Drag into the tag and place it in the center.

**Adding a background to the transparent animation.

Animation - Animation Propieties
Change the black color for the color of your choice, mine is white.
Apply and the color will be applied in all the frames selected.

Change the speed to: 13, play the animation and save if you like! :)

Verylicious


Supplies Needed:
Psp & Animation shop
Tube of choice. Art by Verymany, the tube is available here
Scrap kit Verylicious (PTU) by Bibis Collections here
Mask 106 by Gems here
Animation 169 by Simone here 
Animation SnapFlash 2 by Lovey here
Plugins:
Eye candy 4000
Font here


Open a new image: 650x500

Open: BIBIVERYLICIOUS (7). C/p in the canvas, resize at 60 percent - Smart Size. 
Layers - Load/Save Mask - Load Mask from the disk:

Merge group. Duplicate. merge visible.

Open: BIBI VERYLICIOUS ELEM (46). C/p in the canvas. Image - Flip.
Place it in the top left side.

Open: BIBIVERYLICIOUS (89). C/p in the canvas, resize at 50 percent - Smart Size. Twice.
Place it in the center. With the magic wand click inside of the frames, expand the 

selection: 10 pixels.

Open: BIBIVERYLICIOUS (8). C/p in the canvas. Place it below the frame. Selections - 

Invert. Edit - Clear. Selections - Invert. 

Open: BIBIVERYLICIOUS (84). C/p in the canvas, resize at 45 percent - Smart Size.
Place it in the center. Deselect.

Activate the top layer.
Open: BIBI VERYLICIOUS ELEM (68). C/p in the canvas. Place it in the center, above the  frame.

Open: BIBIVERYLICIOUS (49). C/p in the canvas, resize at 60 percent - Smart Size.
Place it in the bottom center.

Open: BIBIVERYLICIOUS (70). C/p in the canvas, resize at 20 percent - Smart Size.
Place it in the right side of the frame.

Open: BIBIVERYLICIOUS (74). C/p in the canvas, resize at 40 percent - Smart Size.
Place it in the right side.

Open: BIBIVERYLICIOUS (83). C/p in the canvas, resize at 50 percent - Smart Size.
Place it in the right side, above the blue bow.

Open: BIBI VERYLICIOUS ELEM (20). C/p in the canvas. Place it in the top right side
of the frame. Duplicate. Image - Flip. Arrange it in the bottom right.

Open: BIBIVERYLICIOUS (73). C/p in the canvas, resize at 70 percent - Smart Size.
Image - Mirror. Place it in the bottom right.

Open: BIBIVERYLICIOUS (77). C/p in the canvas, resize at 55 percent - Smart Size. Twice.
Image - Mirror. Place it in the bottom right, next to the lollipop.

Open: BIBIVERYLICIOUS (58). C/p in the canvas, resize at 55 percent - Smart Size. 
Image - Mirror. Place it in the bottom right.

Open: BIBIVERYLICIOUS (64). C/p in the canvas, resize at 40 percent - Smart Size. 
Place it in the bottom right.

Open: BIBIVERYLICIOUS (65). C/p in the canvas, resize at 40 percent - Smart Size. 
Place it in the right side, next to the silver doodle.

Open: BIBIVERYLICIOUS (9). C/p in the canvas, resize at 85 percent - Smart Size. 
Place it in the bottom left.

Open: BIBIVERYLICIOUS (66). C/p in the canvas, resize at 45 percent - Smart Size. 
Image - Mirror. Image - Free Rotate: Left 30 degrees. Place it in the left side.

Sharpen the elements and apply shadow.
Effects - Plugins - Eye Candy 4000 - Shadowlab:

Open the tube c/p in the canvas and place it in the right side.
Effects - Plugins - Eye Candy 4000 - Shadowlab:

Add the name and copyright info.

To animate:
Copy merged the tag. Open animation shop: 
Paste as a new animation and duplicate until you have 4 frames.

Open: SnapFlash-2-bylovey'12.psd
Activate the first frame, select all.
Animation - Resize at 40 percent - Bicubic.
Drag into the tag and place it in the center camera lens.

Activate the first frame, select all. Copy. Click in the last frame and paste after current 

frame. Repeat until you have 16 frames.

Open: SimoneAni169-mng.mng
Activate the first frame, select all.
Animation - Cull Animation: Remove 1 frame every 4 frames.
Animation - Resize at 70 percent - Bicubic.
Drag into the tag and place it in the bottom right.

**Adding a background to the transparent animation.

Animation - Animation Propieties
Change the black color for the color of your choice, mine is white.
Apply and the color will be applied in all the frames selected.

Change the speed to: 11, play the animation and save if you like! :)

New kit: Easter Quest


ღNEW EXCLUSIVE KITღ
Tagger size kit: 84 Unique elements and 14 papers (800x800 pixels) 
Created to match Sebastien Serrano Easter Quest tube :)