domingo, 30 de junio de 2013

Courtney's Summer


Supplies Needed:
Psp & Animation shop
Tube of choice. Art by Jose Cano, the tube is available here
Scrap kit Courtney (PTU) by Lizquis Scraps here
Animation 338 by Simone here 
Plugins:
Eye candy 4000
Font here


Open a new image: 550x650.
Open: LS_Courtney_frame1. C/p in the canvas, resize at 80 percent - Smart Size. 
Place it in the center.

Open: LS_Courtney_frame2. C/p in the canvas, resize at 80 percent - Smart Size. 
Place it in the center. With the magic wand click inside of the frame and expand the selection: 5 pixels.

Open: LS_Courtney_paper1. Place it below the frame. 
Selections - Invert. Edit - Clear. Selections - Invert. Deselect.
Duplicate. Effects - Texture Effects - Mosaic Antique:

In the layer palette change the blend mode to: Hard Light.

Activate the top layer. 
Open the tube, c/p in the canvas, resize if it's needed and place it in the center.
Effects - Plugins - Eye Candy 4000 - Shadowlab:

Open: LS_Courtney_grass. C/p in the canvas, place it in the bottom center.

Open: LS_Courtney_cookie. C/p in the canvas, resize at 45 percent - Smart Size. 
Place it in the right side.

Open: LS_Courtney_lollipop2. C/p in the canvas, resize at 55 percent - Smart Size. 
Place it in the right side.

Open: LS_Courtney_candy1. C/p in the canvas, resize at 45 percent - Smart Size. 
Place it in the right side.

Open: LS_Courtney_piña. C/p in the canvas, resize at 50 percent - Smart Size. 
Place it in the bottom right.

Open: LS_Courtney_cherries. C/p in the canvas, resize at 55 percent - Smart Size. Twice.
Place it in the bottom right.

Open: LS_Courtney_polish. C/p in the canvas, resize at 40 percent - Smart Size. 
Place it in the right side.

Open: LS_Courtney_cupcake. C/p in the canvas, resize at 45 percent - Smart Size. 
Place it in the right side.

Open: LS_Courtney_lips. C/p in the canvas, resize at 45 percent - Smart Size. 
Place it in the bottom right.

Open: LS_Courtney_bow2. C/p in the canvas, resize at 50 percent - Smart Size. 
Place it in the top right.

Open: LS_Courtney_light. C/p in the canvas, place it in the bottom center.

Sharpen the elements and apply shadow.
Effects - Plugins - Eye Candy 4000 - Shadowlab:


Add the name and copyright info.

To animate:

Copy merged the tag. Open animation shop: 
Paste as a new animation and duplicate until you have 19 frames.

Open: SimoneAni386PSD-withdropshadowGREEN.psd
Activate the first frame, select all.
Animation - Cull Animation - Remove 1 frame every 3 frames.
Drag into the tag and place it in the right side.

**Adding a background to the transparent animation.

Animation - Animation Propieties
Change the black color for the color of your choice, mine is white.
Apply and the color will be applied in all the frames selected.

Change the speed to: 11, play the animation and save if you like! :)

Roses of Lust


Supplies Needed:
Psp & Animation shop
Tube of choice. Art by Angelica Sellers, the tube is available scrap kit
Scrap kit Temptation (PTU) by Angelica Sellers here
Animation 46 by Simone here 
Plugins:
Eye candy 4000
Font here


Open a new image: 650x500.
Open: element17. C/p in the canvas, resize at 95 percent - Smart Size. 
Place it in the center.

Open: element19. C/p in the canvas, resize at 85 percent - Smart Size. 
Place it in the center. With the magic wand click inside of the left frame and expand the selection: 2 pixels.

Open: paper15. Resize at 60 percent - Smart Size.  Place it below the frame. 
Selections - Invert. Edit - Clear. Selections - Invert. Again.

With the magic wand click inside of the right side frame and expand the selection: 2 pixels.
Open: paper06. Place it below the frame.  Selections - Invert. Edit - Clear. Selections - Invert. Deselect.

Open: element32 is the tube I'm using. Resize to your liking. Place it in the center.
Effects - Plugins - Eye Candy 4000 - Shadowlab:


Open: element40. C/p in the canvas. Image - Free Rotate: Right - 90 degrees. 
place it in the bottom center.

Open: element05. C/p in the canvas, resize at 70 percent - Smart Size. 
Image - Flip. Place it in the bottom left side.

Open: element14. C/p in the canvas, resize at 55 percent - Smart Size. 
Image - Mirror. Place it in the right side.

Open: element06. C/p in the canvas, resize at 55 percent - Smart Size. 
Place it in the top leftside. Duplicate. Image - Mirror.  Arrange it in the right side.

Open: element02. C/p in the canvas, resize at 75 percent - Smart Size. 
Image - Free Rotate: Right - 90 degrees. Place it in the bottom right.

Open: element27. C/p in the canvas. Place it in the bottom center.

Open: element25. C/p in the canvas, resize at 60 percent - Smart Size. 
Place it in the left side.

Open: element04. C/p in the canvas, resize at 45 percent - Smart Size. 
Place it in the left side.

Sharpen the elements and apply shadow.
Effects - Plugins - Eye Candy 4000 - Shadowlab:

Add the name and copyright info.

To animate:

Close the layers below the Element19. (with this layer included)
Merge visible all the open layers. Rename it: 1. Close it.

Open the layers closed and copy merged. 

Open animation shop and paste as a new animation. Duplicate until you have 19 frames.

Open: SimoneAni-46-HeartsCross.psd
Activate the first frame, select all. 
Animation - Cull Animation - Remove 1 frame every 2 frames.
Drag into the tag and place it in the left side.

Back to psp. Open the layer 1 and copy, paste as a new animation in animation shop.
Duplicate until you have 19 frames.
Activate the first frame, select all. Drag into the tag and place it where it belongs.

**Adding a background to the transparent animation.

Animation - Animation Properties
Change the back color for the color of your choice, mine is white.
Apply and the color will be applied in all the frames selected.

Change the speed to: 12, play the animation and save if you like! :)

You won't hear me, but you'll feel me


Supplies Needed:
Psp & Animation shop
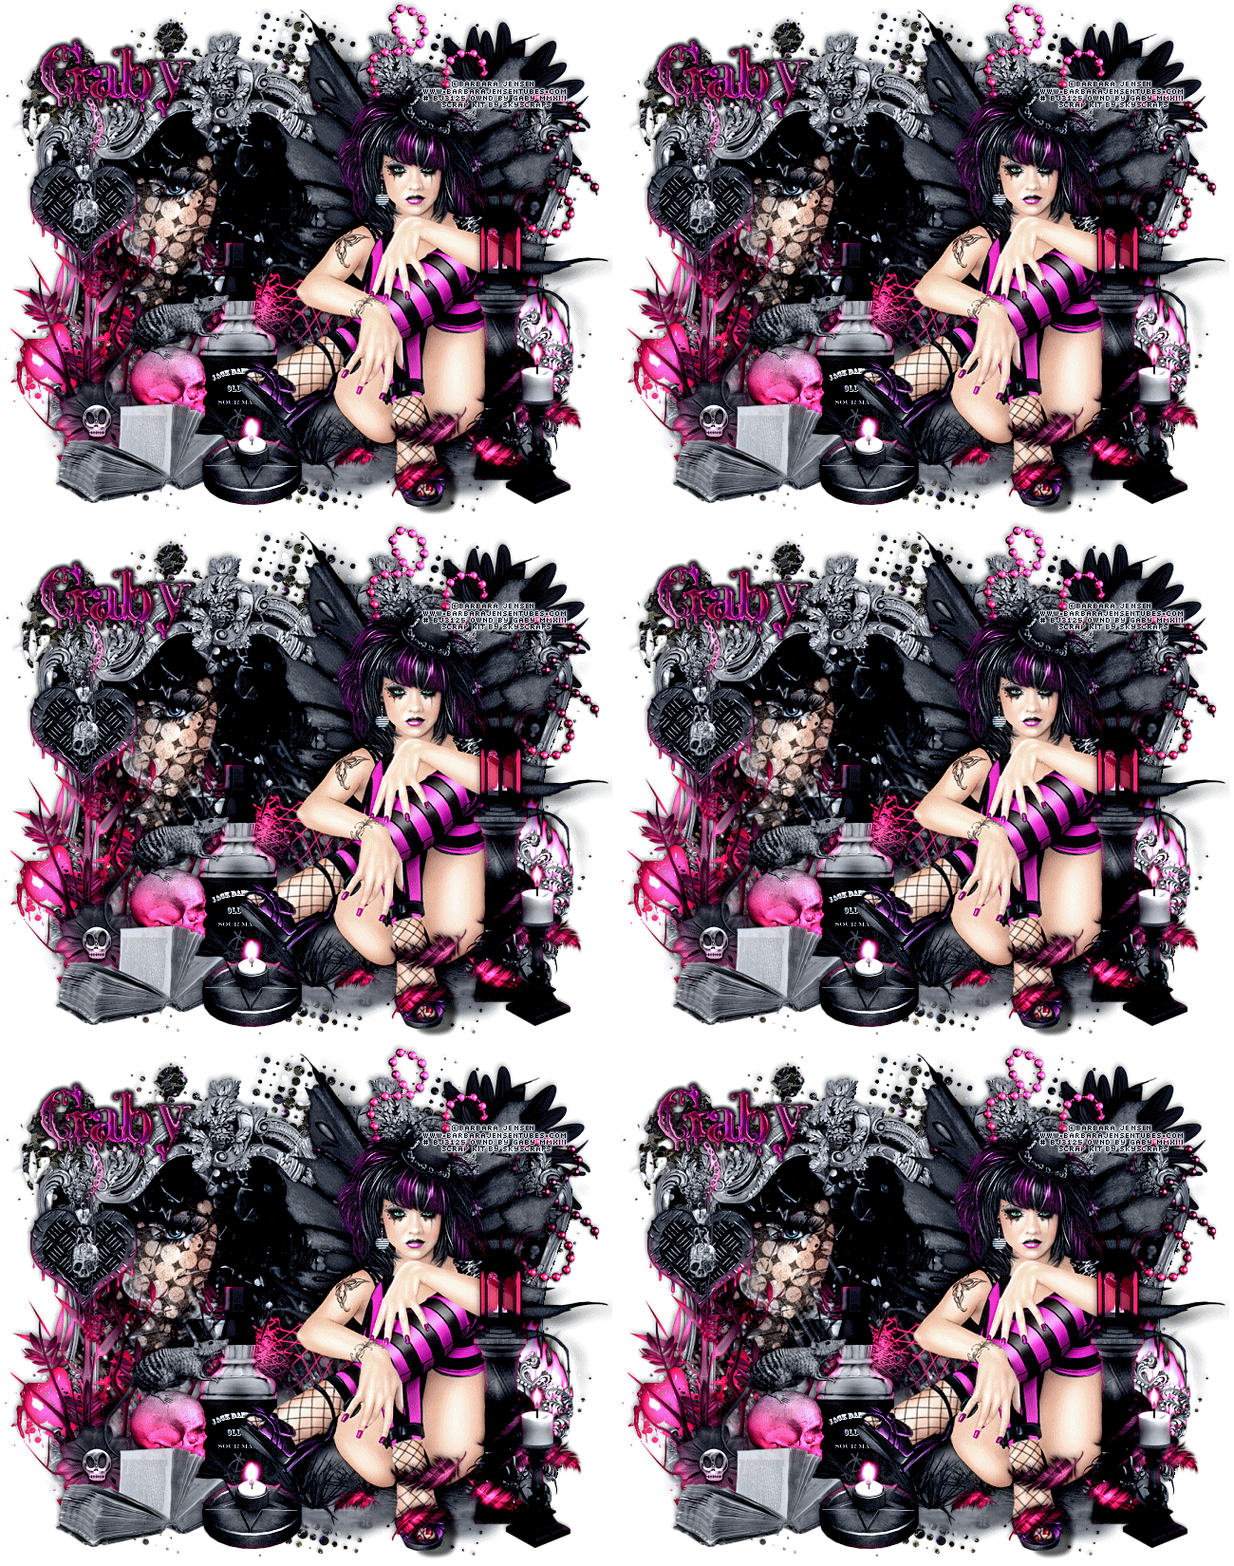
Tube of choice. Art by Barbara Jensen, the tube is available here
Scrap kit Vamp (PTU) by SkyScraps here
Animation 21 by me (PSD - MNG) here
Plugins:
Eye candy 4000
Font here


Open a new image: 650x550.
Open: SkyScraps-E61. C/p in the canvas and place it in the center.

Open: SkyScraps-E55. C/p in the canvas, resize at 55 percent - Smart Size. 
Place it in the top right corner.

Open: SkyScraps-E70. C/p in the canvas, resize at 70 percent - Smart Size. 
Place it in the top left corner.

Open: SkyScraps-E92. C/p in the canvas, resize at 80 percent - Smart Size. 
Place it in the center.With the magic wand click inside of the frame and expand the selection: 5 pixels.

Open: SkyScraps-pp7. C/p in the canvas, resize at 75 percent - Smart Size.
Place it below the frame. Selections - Invert. Edit - Clear. Selections - Invert.

Open the tube, c/p in the canvas, resize if it's needed and place it in the left side.
Selections - Invert. Edit - Clear. Deselect. In the layer palette change the blend mode to: Overlay.

Open: SkyScraps-E49. C/p in the canvas, resize at 60 percent - Smart Size. 
Place it in the left side.

Open: SkyScraps-E86. C/p in the canvas, resize at 60 percent - Smart Size. 
Place it in the top right corner.

Open: SkyScraps-E52. C/p in the canvas, resize at 50 percent - Smart Size. 
Place it in the bottom left corner.

Open: SkyScraps-E93. C/p in the canvas, resize at 55 percent - Smart Size. 
Image - Flip. Place it in the bottom center.

Open: SkyScraps-E79. C/p in the canvas, resize at 75 percent - Smart Size. 
Place it in the bottom right.

Open: SkyScraps-E72. C/p in the canvas, resize at 65 percent - Smart Size. Twice.
Place it in the bottom left.

Open: SkyScraps-E71. C/p in the canvas, resize at 60 percent - Smart Size. Twice.
Place it in the bottom left.

Open: SkyScraps-E69. C/p in the canvas, resize at 55 percent - Smart Size. Twice.
Place it in the bottom left.

Open: SkyScraps-E51. C/p in the canvas, resize at 60 percent - Smart Size. Twice.
Place it in the top left.

Open: SkyScraps-E91. C/p in the canvas, resize at 55 percent - Smart Size. Twice.
Place it in the bottom right corner.

Open: SkyScraps-E70. C/p in the canvas, resize at 50 percent - Smart Size. 
Place it in the bottom center.

Open: SkyScraps-E94. C/p in the canvas, resize at 70 percent - Smart Size. 
Place it in the bottom right.

Open the tube, c/p in the canvas, resize if it's needed and place it in the rigth side.
Effects - Plugins - Eye Candy 4000 - Shadowlab:

Open: SkyScraps-E16. C/p in the canvas, resize at 45 percent - Smart Size. 
Place it in the bottom right.

Open: SkyScraps-E73. C/p in the canvas, resize at 55 percent - Smart Size. 
Place it in the bottom right.

Open: SkyScraps-E22. C/p in the canvas, resize at 55 percent - Smart Size. Twice.
Place it in the bottom right.

Open: SkyScraps-E29. C/p in the canvas, resize at 50 percent - Smart Size. Twice.
Place it in the bottom right.

Open: SkyScraps-E35. C/p in the canvas, resize at 55 percent - Smart Size. Twice.
Place it in the bottom left.

Open: SkyScraps-E88. C/p in the canvas, resize at 55 percent - Smart Size. Twice.
Place it in the bottom left.

Open: SkyScraps-E33. C/p in the canvas, resize at 40 percent - Smart Size. 
Place it in the bottom left.

Sharpen the elements and apply shadow.
Effects - Plugins - Eye Candy 4000 - Shadowlab:

Add the name and copyright info.

To animate:

Close the layers below the SkyScraps-E49. (with this layer included)
Merge visible all the open layers. Rename it: 1. Close it.

Open the layers closed and copy merged. 

Open animation shop and paste as a new animation. Duplicate until you have 20 frames.

Open: Animation21 by Gaby MNG.mng
Activate the first frame, select all. 
Drag into the tag and place it in the bottom left.

Back to psp. Open the layer 1 and copy, paste as a new animation in animation shop.
Duplicate until you have 20 frames.
Activate the first frame, select all. Drag into the tag and place it where it belongs.


**Adding a background to the transparent animation.

Animation - Animation Properties
Change the back color for the color of your choice, mine is white.
Apply and the color will be applied in all the frames selected.

Change the speed to: 12, play the animation and save if you like! :)

More PTU Tutorials: Sea Pirate

Tutorials created with the tube Sea Pirate by Diana Gali here and my matching kit available here

Lovely PTU Tutorial by Carol, Go to the tutorial here


Gorgeous tutorial by Laura, check out the tutorial here


Awesome PTU Tutorial in french by Betty, find the tutorial here


PTU Tutorials: Sea Pirate

PTU Spanish Tutorial with the tube Sea Pirate by Diana Gali here and my matching kit available here
Go to the tutorial here


Amazing PTU tutorial in spanish by Isa, find the tutorial here


PTU Kit: Sea Pirate

PTU Scrap Kit: Sea Pirate
The kit is exclusive to SATC and created to match the tube Sea Pirate by Diana Gali
Tagger size: 152 Unique Elements and 16 papers (800x800 pixels) 
I hope you like it!! ♥

Find the scrap kit here
Find the tube here


Tag made by me with the tube and my matching kit


CT Tutorials & Tags: Beach Cutie - Mandy Marie Sweetness

PTU Tutorial by Misty Lynn with the tube beach cutie and my kit beach cutie here
Check out the tutorial here


Lovely tag by Bibis Collection with the tube Mandy Marie Sweetness by Pinup Bombshells and my matching kit only at SATC, find the kit here and the tube here

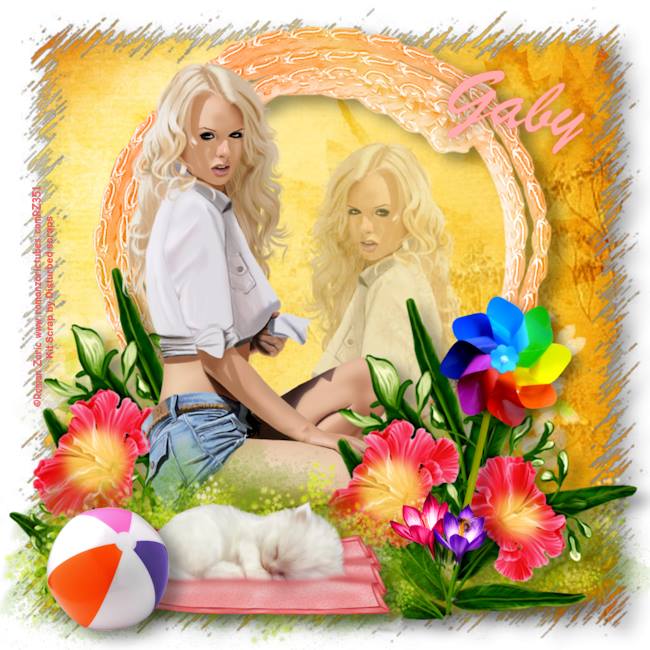
tag by Annie with the art of Roman Zaric and my kit Summertime Sunset available here

PTU Tags: Black widow

Tags created with the tube Vampire Black Widow by Diana Gali here and my matching kit available here

This stunning tag was made by Bibis Collections ♥


beautiful tag by Puri! :)


Beautiful design by Elvialet with a tube by SkyScraps ^^ 

PTU Tutorials and IM Letter: Black widow

Stunning PTU Tutorial in spanish by Isa Designs with the tube Vampire Black Widow by Diana Gali here and my matching kit available here
Go to the tutorial here


Awesome PTU Tutorial by DeeGee here


breathtaking tag & IM letter created by Graci Martins.
You can receive her im letters here

sábado, 29 de junio de 2013

Kiss me, then I'll be yours


Supplies Needed:
Psp & Animation shop
Tube of choice. Art by Celineart, the tube is available here
Scrap kit American Girl (PTU) by Bibis Collection here
Animation 496 by Simone here
Plugins:
Eye candy 4000
Font here


Open a new image: 500x600.
Open: BIBISABINAKELLEY ELEM (8). C/p in the canvas, resize at 80 percent - Smart Size. 
Place it in the center.

Open: BIBISABINAKELLEY ELEM (25). C/p in the canvas, resize at 80 percent - Smart Size. 
Place it in the center.

Open: BIBISABINAKELLEY ELEM (54). C/p in the canvas, resize at 55 percent - Smart Size. 
Place it in the bottom left.

Open: BIBISABINAKELLEY ELEM (64). C/p in the canvas, resize at 65 percent - Smart Size. 
Place it in the bottom right.

Open: BIBISABINAKELLEY ELEM (39). C/p in the canvas, resize at 60 percent - Smart Size. 
Place it in the center.

Open: BIBISABINAKELLEY ELEM (83). C/p in the canvas, resize at 55 percent - Smart Size. Twice.
Place it in the top right.

Open the tube, c/p in the canvas, resize if it's needed and place it in the right side.
Effects - Plugins - Eye Candy 4000 - Shadowlab:

Open: BIBISABINAKELLEY ELEM (9). C/p in the canvas, resize at 70 percent - Smart Size. Twice.
Place it in the center.

Open: BIBISABINAKELLEY ELEM (42). C/p in the canvas, resize at 45 percent - Smart Size. Twice.
Image - Mirror. Place it in the left side.

Open: BIBISABINAKELLEY ELEM (3). C/p in the canvas, resize at 40 percent - Smart Size. Twice.
Image - Mirror. Place it in the bottom right.

Open: BIBISABINAKELLEY ELEM (67). C/p in the canvas, resize at 60 percent - Smart Size. Twice.
Place it in the bottom center.

Open: BIBISABINAKELLEY ELEM (91). C/p in the canvas, resize at 55 percent - Smart Size. Twice.
Place it in the bottom center.

Open: BIBISABINAKELLEY ELEM (126). C/p in the canvas, resize at 55 percent - Smart Size. Twice.
Place it in the bottom right.

Open: BIBISABINAKELLEY ELEM (75). C/p in the canvas, resize at 40 percent - Smart Size. 
Place it in the bottom right.

Open: BIBISABINAKELLEY ELEM (95). C/p in the canvas, resize at 55 percent - Smart Size. 
Place it in the bottom left.

Open: BIBISABINAKELLEY ELEM (88). C/p in the canvas, resize at 60 percent - Smart Size. 
Place it in the bottom left.

Open: BIBISABINAKELLEY ELEM (72). C/p in the canvas, resize at 50 percent - Smart Size. 
Place it in the bottom left.

Open: BIBISABINAKELLEY ELEM (118). C/p in the canvas, resize at 45 percent - Smart Size. Twice.
Place it in the bottom center.

Open: BIBISABINAKELLEY ELEM (73). C/p in the canvas, resize at 60 percent - Smart Size. Twice.
Place it in the bottom left.

Open: BIBISABINAKELLEY ELEM (90). C/p in the canvas, resize at 65 percent - Smart Size. 
Image - Mirror. Place it in the bottom right.

Open: BIBISABINAKELLEY ELEM (92). C/p in the canvas, resize at 50 percent - Smart Size. 
Place it in the bottom left.

Open: BIBISABINAKELLEY ELEM (140). C/p in the canvas, resize at 45 percent - Smart Size. 
Place it in the bottom left.

Open: BIBISABINAKELLEY ELEM (80). C/p in the canvas, resize at 60 percent - Smart Size. 
Place it in the bottom right.

Open: BIBISABINAKELLEY ELEM (130). C/p in the canvas, resize at 55 percent - Smart Size. Twice.
Place it in the bottom right.

Sharpen the elements and apply shadow.
Effects - Plugins - Eye Candy 4000 - Shadowlab:

Add the name and copyright info.


To animate:
Copy merged the tag. Open animation shop: 
Paste as a new animation and duplicate until you have 16 frames.

Open: SimoneAni496-PSD.psd
Activate the first frame, select all.
Drag into the tag and place it three times in the tag.


**Adding a background to the transparent animation.

Animation - Animation Propieties
Change the black color for the color of your choice, mine is white.
Apply and the color will be applied in all the frames selected.

Change the speed to: 12, play the animation and save if you like! :)

miércoles, 26 de junio de 2013

Fresh Memories


Supplies Needed:
Psp & Animation shop
Tube of choice. Art by Keith Garvey, the tube is available here
Scrap kit Fresh (PTU) by SkyScraps here
Animation 327 by Simone here
Plugins:
Eye candy 4000
Font here


Open a new image: 650x500.

Open: SkyScraps-Fresh-E89. C/p in the canvas, resize at 75 percent - Smart Size. 
Place it in the center.

Open: SkyScraps-Fresh-E5. C/p in the canvas, resize at 40 percent - Smart Size. 
Place it in the left side.

Open: SkyScraps-Fresh-E20. C/p in the canvas, resize at 70 percent - Smart Size. 
Place it in the left side.

Open: SkyScraps-Fresh-E21. C/p in the canvas, resize at 55 percent - Smart Size. 
Place it in the right side.

Open: SkyScraps-Fresh-E77. C/p in the canvas, resize at 60 percent - Smart Size. Twice.
Place it in the bottom right.

Open: SkyScraps-Fresh-E26. C/p in the canvas, resize at 60 percent - Smart Size. 
Place it in the center.

Open: SkyScraps-Fresh-E58. C/p in the canvas, resize at 40 percent - Smart Size. 
Place it in the bottom right.

Open: SkyScraps-Fresh-E2. C/p in the canvas, resize at 50 percent - Smart Size. 
Image - Mirror. Place it in the bottom right.

Open the tube, c/p in the canvas, resize if it's needed and place it in the left side.
Effects - Plugins - Eye Candy 4000 - Shadowlab:


Open: SkyScraps-Fresh-E32. C/p in the canvas, resize at 40 percent - Smart Size. 
Place it in the bottom left.

Open: SkyScraps-Fresh-E74. C/p in the canvas. Place it in the bottom center.

Open: SkyScraps-Fresh-E47. C/p in the canvas, resize at 80 percent - Smart Size. 
Place it in the center.

Open: SkyScraps-Fresh-E73. C/p in the canvas, resize at 50 percent - Smart Size. 
Image - Free Rotate: Right - 90 degrees. Place it in the top center.

Open: SkyScraps-Fresh-E78. C/p in the canvas, resize at 50 percent - Smart Size. 
Place it in the right side.

Open: SkyScraps-Fresh-E91. C/p in the canvas, resize at 50 percent - Smart Size. 
Place it in the top right side.

Open: SkyScraps-Fresh-E46. C/p in the canvas, resize at 60 percent - Smart Size. 
Place it in the bottom left.

Open: SkyScraps-Fresh-E27. C/p in the canvas, resize at 40 percent - Smart Size. 
Place it in the bottom left corner.

Open: SkyScraps-Fresh-E35. C/p in the canvas, resize at 40 percent - Smart Size. 
Image - Mirror. Place it in the bottom left.

Open: SkyScraps-Fresh-E28. C/p in the canvas, resize at 60 percent - Smart Size. Twice.
Place it in the bottom right corner.

Open: SkyScraps-Fresh-E7. C/p in the canvas, resize at 60 percent - Smart Size. 
Place it in the bottom right.

Open: SkyScraps-Fresh-E76. C/p in the canvas, resize at 45 percent - Smart Size. 
Place it in the bottom right.

Open: SkyScraps-Fresh-E66. C/p in the canvas, resize at 55 percent - Smart Size. Twice.
Place it in the top left corner.

Open: SkyScraps-Fresh-E93. C/p in the canvas, resize at 50 percent - Smart Size. Twice.
Place it in the right side.

Open: SkyScraps-Fresh-E31. C/p in the canvas, resize at 55 percent - Smart Size. Twice.
Place it in the top right side.


Sharpen the elements and apply shadow.
Effects - Plugins - Eye Candy 4000 - Shadowlab:


Add the name and copyright info.

To animate:

Copy merged the tag. Open animation shop: 
Paste as a new animation and duplicate until you have 17 frames.

Open: SimoneAni327.mng
Activate the first frame, select all.
Animation - Cull Animation - Remove 1 frame every 5 frames.
Drag into the tag and place it around the tag three times.

**Adding a background to the transparent animation.

Animation - Animation Propieties
Change the black color for the color of your choice, mine is white.
Apply and the color will be applied in all the frames selected.

Change the speed to: 12, play the animation and save if you like! :)

Purple Flamenco


Supplies Needed:
Psp & Animation shop
Tube of choice. Art by Angelica Sellers, the tube is available here
Scrap kit Purple Flamenco (PTU) by Angelica Sellers here
Mask Steam heat by Essex Girl here
Animation Bluey with shadow by Simone here 
Plugins:
Eye candy 4000
Font here


Open a new image: 650x500.

Open: paper18. C/p in the canvas.
Layers - Load/Save Mask - Load Mask from the disk:

Merge group. 

Open: element05. C/p in the canvas, resize at 55 percent - Smart Size. 
Place it in the top center.

Open: element85. C/p in the canvas, resize at 55 percent - Smart Size. Twice.
Image - Free Rotate: Right - 90 degrees. Place it in the left side.

Open: element72. C/p in the canvas, resize at 55 percent - Smart Size. 
Place it in the top right.

Open: element50. C/p in the canvas, resize at 70 percent - Smart Size. 
Place it in the top right.

Open: element89. C/p in the canvas, resize at 45 percent - Smart Size. 
Place it in the top center.

Open: element55. C/p in the canvas, resize at 60 percent - Smart Size. 
Place it in the right side and eraser the string outside the mask.
With the magic wand click inside of the frame and expand the selection: 5 pixels.

Open: paper01. C/p in the canvas, resize at 55 percent - Smart Size. Place it below the frame.

Open the tube, c/p in the canvas, resize if it's needed and place it in the left side of the frame.
Selections - Invert. Edit - Clear. Deselect. Colorize to black and white. 
In the layer palette change the blend mode to: Screen. Duplicate and change the blend mode to: Overlay.

Open: element63. C/p in the canvas, resize at 50 percent - Smart Size. Twice.
Place it in the left side.

Open: element64. C/p in the canvas, resize at 55 percent - Smart Size. Twice.
Place it in the top left side

Open the tube, c/p in the canvas, resize if it's needed and place it in the left.
Effects - Plugins - Eye Candy 4000 - Shadowlab:


Open: element69. C/p in the canvas, resize at 40 percent - Smart Size. 
Place it in the bottom left.

Open: element73. C/p in the canvas, resize at 60 percent - Smart Size. 
Image - Flip. Place it in the bottom right.

Open: element57. C/p in the canvas, resize at 60 percent - Smart Size. 
Image - Free Rotate: Right - 90 degrees. Place it in the bottom center.

Open: element42. C/p in the canvas, resize at 55 percent - Smart Size. Twice.
Image - Flip. Place it in the bottom left.

Open: element27. C/p in the canvas, resize at 70 percent - Smart Size. 
Place it in the bottom center.

Open: element56. C/p in the canvas, resize at 50 percent - Smart Size. 
Place it in the bottom left.

Open: element51. C/p in the canvas, resize at 70 percent - Smart Size. 
Place it in the right side.

Open: element70. C/p in the canvas, resize at 55 percent - Smart Size. Twice.
Place it in the bottom right.

Open: element59. C/p in the canvas, resize at 45 percent - Smart Size. 
Place it in the top right.

Open: element02. C/p in the canvas, resize at 45 percent - Smart Size. 
Place it in the bottom right corner.

Open: element28. C/p in the canvas, resize at 40 percent - Smart Size. 
Place it in the bottom center.

Open: element81. C/p in the canvas, resize at 50 percent - Smart Size. Twice.
Place it in the bottom center.

Open: element01. C/p in the canvas, resize at 60 percent - Smart Size. 
Place it in the bottom left corner.

Open: element62. C/p in the canvas, resize at 55 percent - Smart Size. Twice.
Place it in the bottom left.

Open: element87. C/p in the canvas, resize at 50 percent - Smart Size. 
Place it in the bottom left.

Open: element86. C/p in the canvas, resize at 60 percent - Smart Size. Twice.
Place it in the bottom center.

Open: element52. C/p in the canvas, resize at 70 percent - Smart Size. 
Image - Free Rotate: Left - 70 degrees. Place it in the bottom center.

Open: element80. C/p in the canvas, resize at 55 percent - Smart Size. Twice.
Place it in the bottom right corner.

Open: element54. C/p in the canvas, resize at 40 percent - Smart Size. 
Place it in the left side.

Open: element61. C/p in the canvas, resize at 70 percent - Smart Size. 
Image - Flip. Place it in the bottom left corner.

Sharpen the elements and apply shadow.
Effects - Plugins - Eye Candy 4000 - Shadowlab:


Add the name and copyright info.

To animate:

Close the layers below the element89. (with this layer included)
Merge visible all the open layers. Rename it: 1. Close it.

Open the layers closed and copy merged. 

Open animation shop and paste as a new animation. Duplicate until you have 16 frames.

Open: SimoneAni-Bluey-WITH-Shadow-MNG.mng
Activate the first frame, select all. 
Drag into the tag and place it in the center.

Back to psp. Open the layer 1 and copy, paste as a new animation in animation shop.
Duplicate until you have 16 frames.
Activate the first frame, select all. Drag into the tag and place it where it belongs.

**Adding a background to the transparent animation.

Animation - Animation Properties
Change the back color for the color of your choice, mine is white.
Apply and the color will be applied in all the frames selected.

Change the speed to: 11, play the animation and save if you like! :)