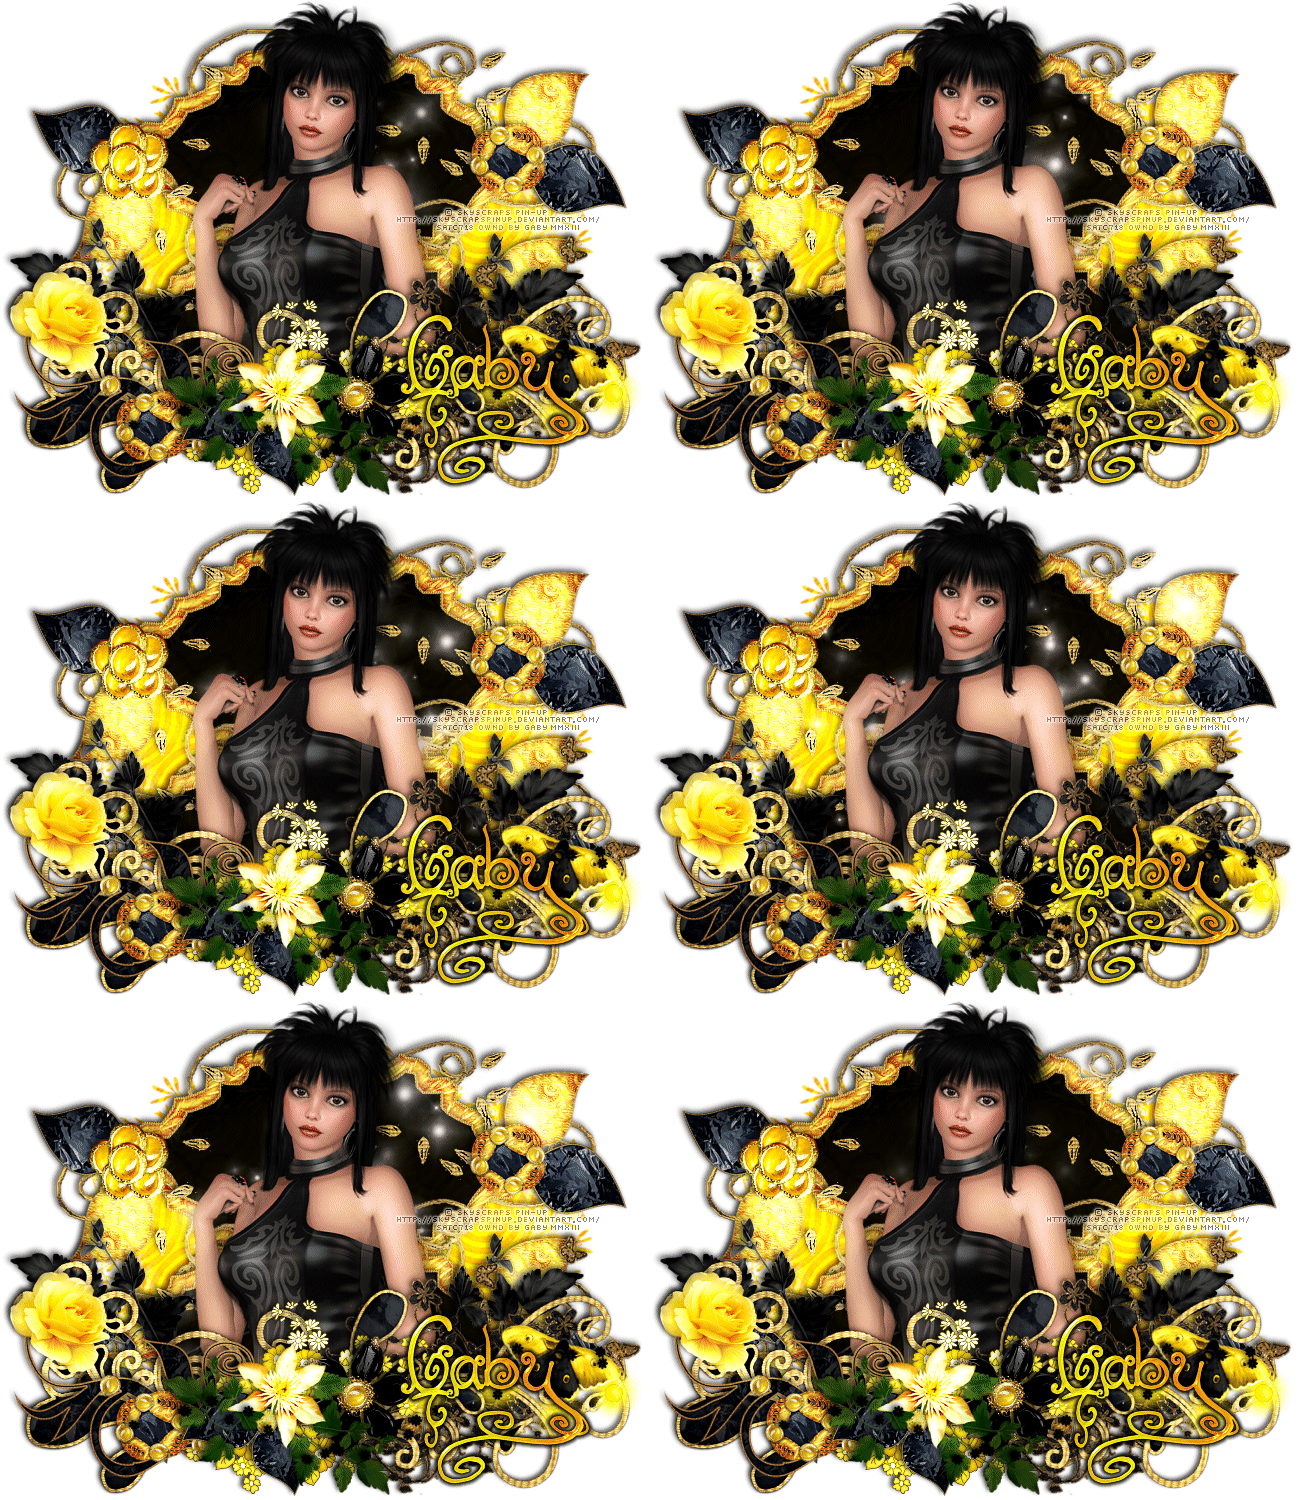
Supplies Needed:
Psp & Animation shop
Tube of choice. Art by SkyScraps, the tube is a limited time freebie here
Scrap kit Flirt (PTU) by Angelica Sellers here
Animation 74 by Simone here
Plugins:
Graphics Plus
Eye candy 4000
Font here
Open a new image: 650x500
Open: paper06. C/p in the canvas.
Open: mask01psp.png
Layers - New Mask Layer - From Image:
With the mask layer (black & white) active.
Resize at 110 percent - Smart Size. Merge group.
Open: element07. C/p in the canvas, Resize at 70 percent - Smart Size.
Place it at the bottom center. Duplicate. Image - Mirror. Image - Flip.
Arrange it in the top center.
Open: element13. C/p in the canvas, Resize at 50 percent - Smart Size.
Place it at the center.
Open: element22. C/p in the canvas, Resize at 50 percent - Smart Size.
Place it in the bottom left. Duplicate. Image - Mirror. Arrange it in the right bottom.
Open the tube, c/p in the canvas and resize if it's needed. Place it in the center.
Effects - Plugins - Eye Candy 4000 - Shadowlab:
Open: element46. C/p in the canvas, Resize at 60 percent - Smart Size.
Image - Free Rotate: Left - 25 degrees. Place it in the bottom right.
Open: element12. C/p in the canvas, Resize at 70 percent - Smart Size.
Image - Free Rotate: Left - 90 degrees. Place it in the bottom left.
Open: element11. C/p in the canvas, Resize at 70 percent - Smart Size.
Image - Free Rotate: Right - 100 degrees. Place it in the bottom right.
Open: element50. C/p in the canvas, Resize at 50 percent - Smart Size.
Image - Flip. Image - Free Rotate: Right - 90 degrees. Place it in the bottom center.
Open: element49. C/p in the canvas, Resize at 45 percent - Smart Size.
Place it in the bottom right.
Open: element14. C/p in the canvas, Resize at 55 percent - Smart Size. Twice
Place it in the bottom left. Duplicate and place it in the top right.
Open: element24. C/p in the canvas, Resize at 50 percent - Smart Size. Twice
Place it in the bottom center.
Open: element33. C/p in the canvas, Resize at 50 percent - Smart Size. Twice
Image - Mirror. Image - Flip. Place it in the bottom center.
Open: element18. C/p in the canvas, Resize at 60 percent - Smart Size. Twice
Place it in the bottom center, next to the black flower.
Open: element16. C/p in the canvas, Resize at 45 percent - Smart Size. Twice
Image - Mirror. Place it at the left side.
Open: element23. C/p in the canvas, Resize at 45 percent - Smart Size. Twice
Place it at the top left side.
Open: element51. C/p in the canvas, Resize at 50 percent - Smart Size. Twice
Image - Free Rotate: Right - 20 degrees. Place it at the bottom right.
Open: element40. C/p in the canvas, Resize at 60 percent - Smart Size.
Place it at the bottom center.
Sharpen the elements and apply shadow.
Effects - Plugins - Eye Candy 4000 - Shadowlab:
Add the name and copyright info.
To animate:
Close the mask layer and element07 (original & duplicate).
Merge down (together) the doodle layers: element11 & element12.
Effects - Plugins - Graphics Plus - Cross Shadows:
Copy merged. Open Animation Shop, paste as a new animation, back to psp.
Undo the plugin and apply again but change the both diagonals to:
Frame 3:
Frame 4:
Frame 5:
Frame 6:
Frame 7:
Activate the first frame, select all. Copy, click in the last frame and paste after current frame.
Continue until you have 21 frames.
Back to psp. Close the open layers and open the layers: mask layer and element07 (original & duplicate).
Copy Merged. In Animation Shop, paste as a new animation. Duplicate until you have 21 frames.
Open: SimoneAni74-TheBlingSeries-004.psd
Activate the first frame, select all.
Animation - Cull Animation: Remove 1 frame every 3 frames.
Drag the animation into the background and place it in the center.
Activate the animation with the tube, name, elements, etc
Activate the first frame, select all. Drag into the tag and place it where it belongs.
**Adding a background to the transparent animation.


No hay comentarios:
Publicar un comentario